Microsoft’s Windows 7 Startup Repair Guide step by step
You will need:
- Your Win7 Home Premium DVD or CD’s
- Win7 COA, or serial number.
- Your computer Plugged into Mains Power
- Electric supply running to your house.
- A Computer, with the usual accessories (Mouse, monitor, keyboard etc)
- CD-ROM/DVD Drive.
Special Notes:Check for USB keys, external hard drives, floppy disks in floppy drive, CD’s in dvd-dri0ve, etc etc, check BIOS and make sure your hard drive is in the list for bootable drives, (it should be N.1) you could also change the harddrive so that it becomes the N.1 boot device.
If your hard drive is not seen during the repair then you will require SATA/RAID drivers from the PC manufacturer or motherboard manufacturer. See our other guides for “No Hard Drive” installs.
To start this Windows install insert the DVD/CD from the desktop. The DVD/CD Should run on reboot of your PC. If not then make sure the drive is set to first boot in the BIOS, see this Win7 BIOS guide for more info.
Special Notes:
Problems installing Windows, or after installing then try upgrading your BIOS to the latest version (BIOS upgrade can be obtained from the PC manufacturer or motherboard manufacturer.)
Also download the latest SATA/RAID Drivers, as older ones may not work.Check your system is within the minimal hardware requirements as laid down by Microsoft.
A common piece of hardware to cause install errors is “Memory”, your install CD has “Memory diagnostics”, run this from the “7” disk to rule it out or replace as needed.
Also for missing “New” hard drives make sure they are seen in the BIOS and are fitted correctly.
| The Beginning |
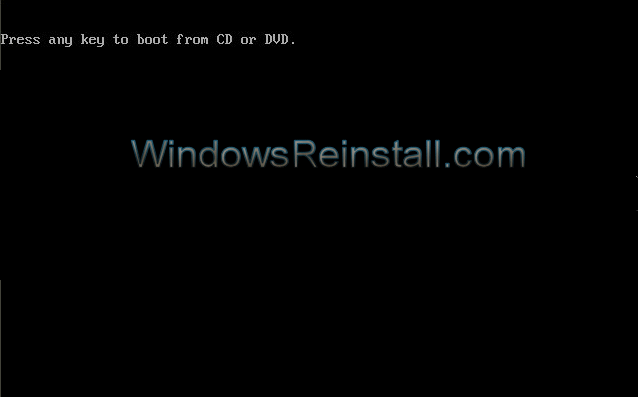
First message you will see is “Press any key to boot from CD or DVD”, press space bar to begin the Repair install. If keyboard is not working then enter BIOS and enable Keyboard MSDOS support or USB legacy support.
Refer to your motherboard/PC manufacturer for further information on enabling DOS support for USB keyboards.
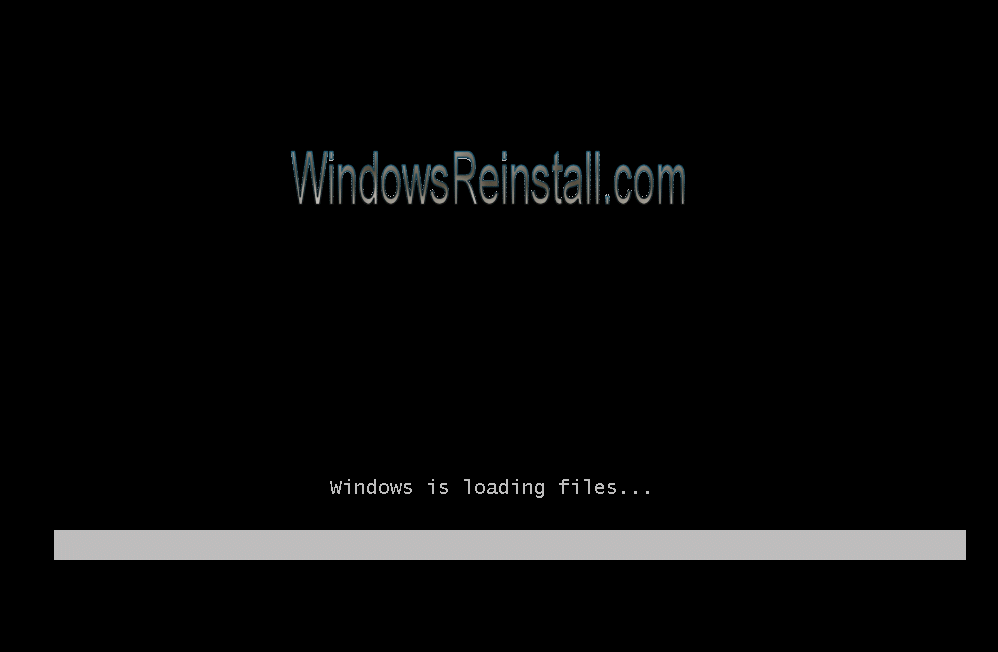
Win7 will begin to load…..
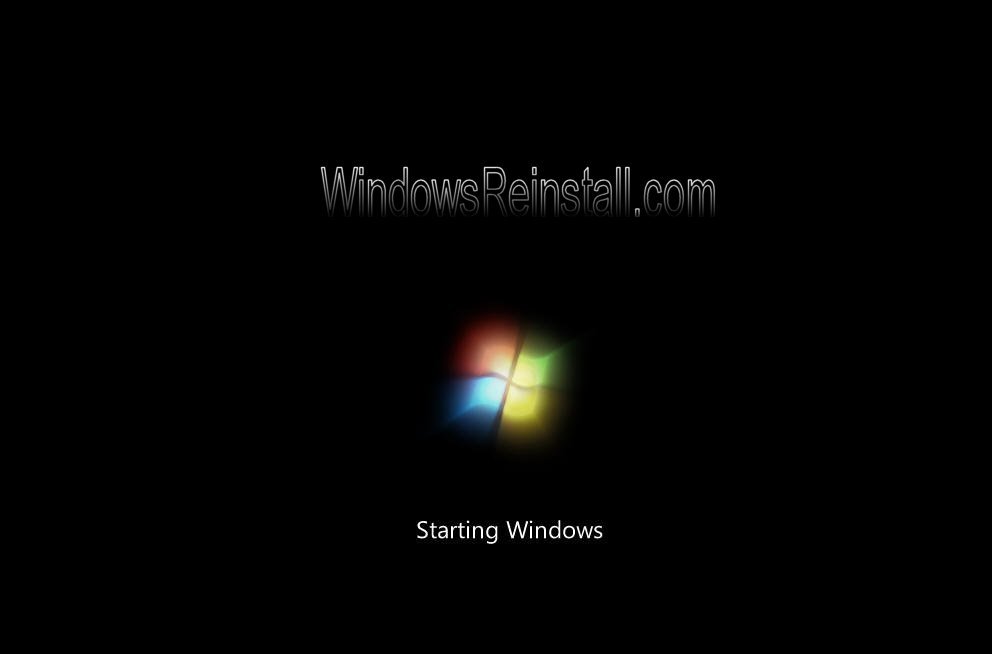
Win7 will now start the repair/install procedure.
First you need to select your language, then Time and currency…

Now the “Install Win7 ” screen will appear, Click on “Repair your Computer” to continue.
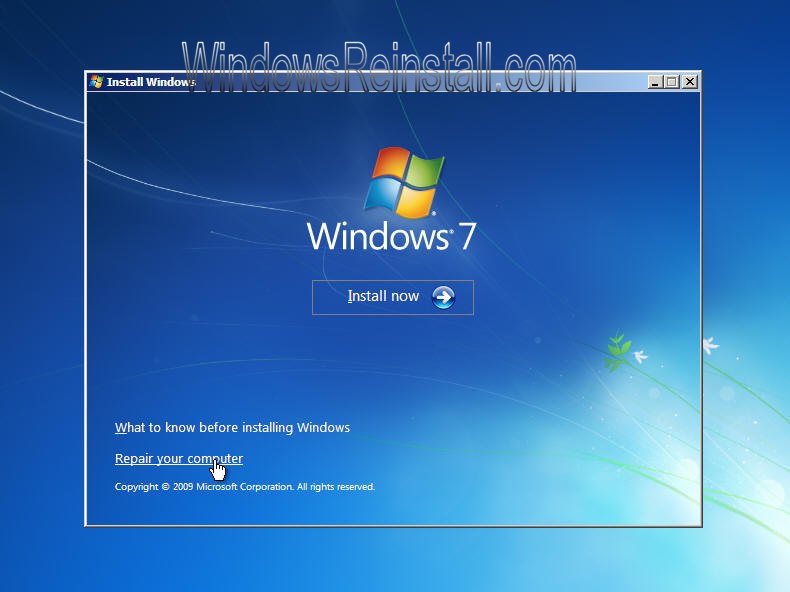
Repair menu will load…
First you need to select the correct install, click on this in the white box and then click on “Next” to continue
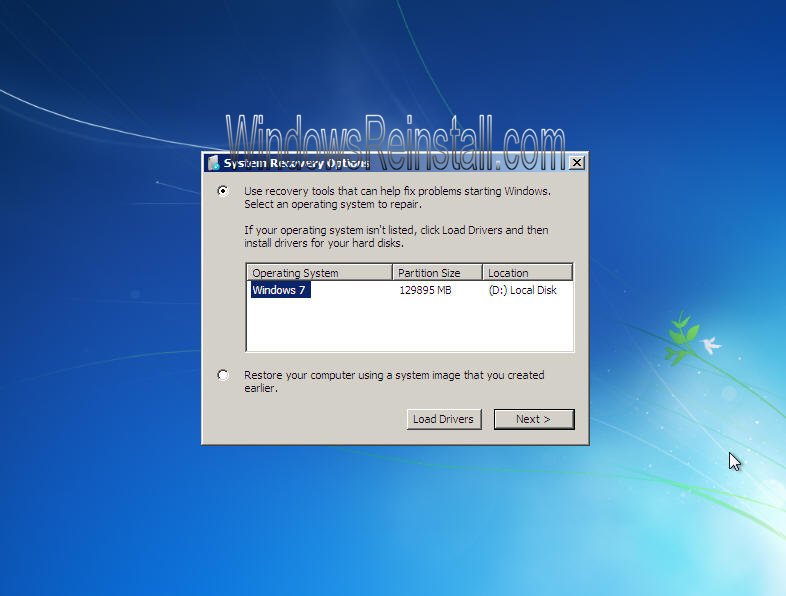
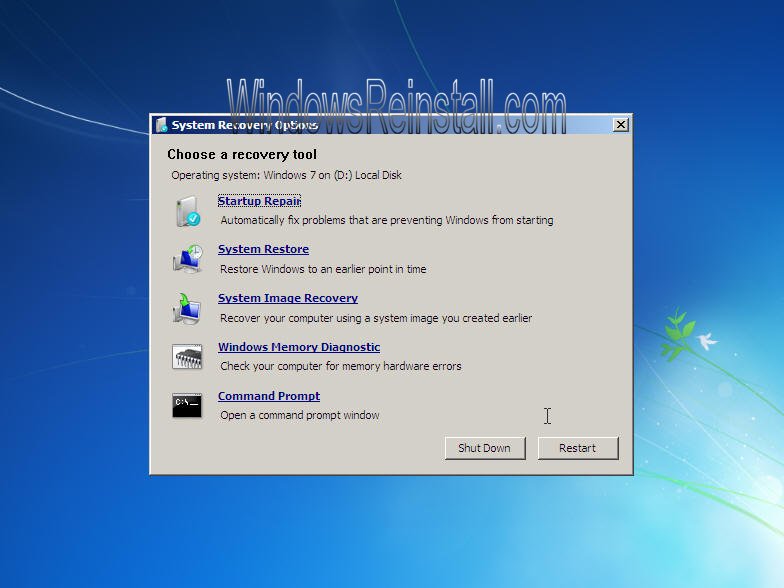
Now select “Startup Repair” from the “System Recovery Options” menu.
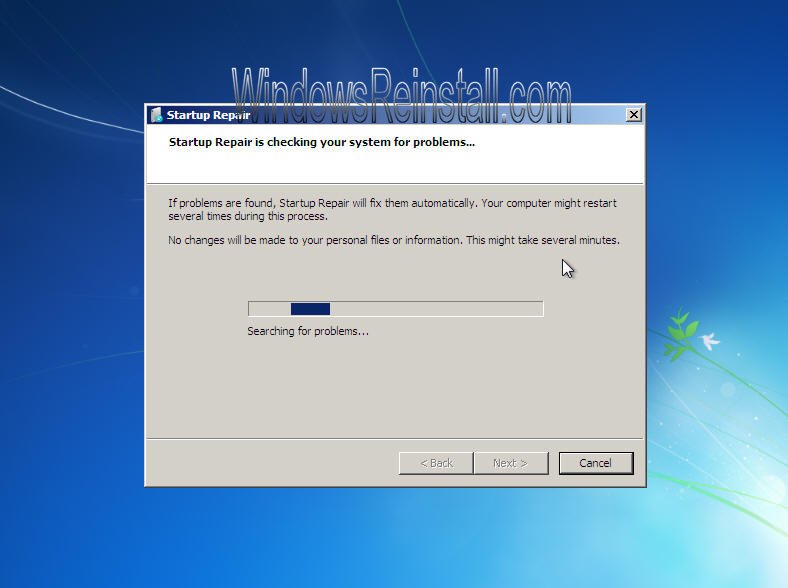
Startup repair will now search for problems that are preventing boot and make changes to fix the problem, this may cause your computer to reboot several times. This process may take some time to complete.
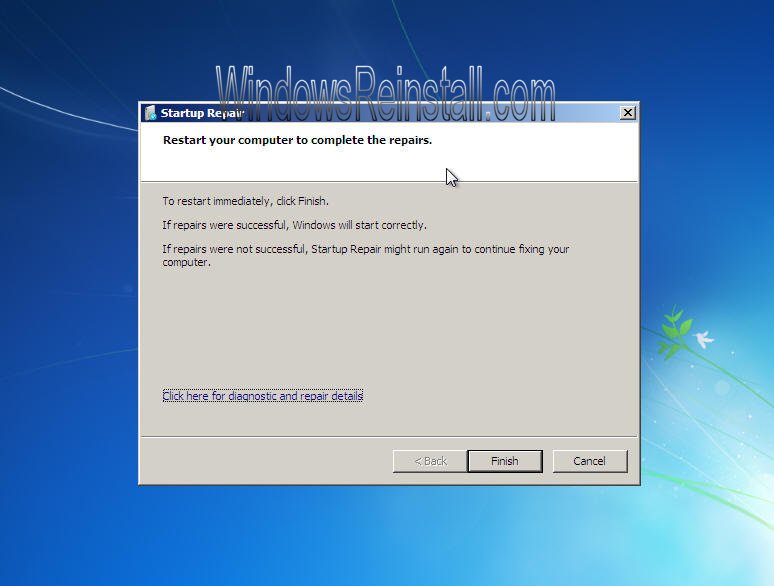
Once done the following screen will appear. If you want information on the repair then click on “Click here for diagnostic and repair details”……
DIAGNOSTIC AND REPAIR DETAILS: Clicking on “Click here for diagnostic and repair details” will show this menu, scroll up and down for required information, once finished click on “Close”

Now click on “Finish” to reboot and test your system to see if the problem is repaired.

Ignore the “Press any key to boot from CD or DVD” message, press no key and allow Windows to start.

and with any luck……

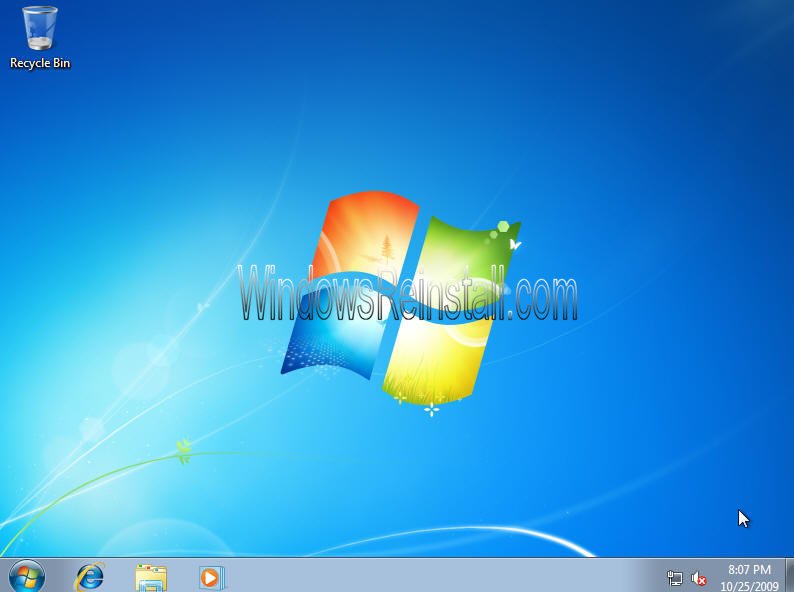
you will be back on your Win7 desktop.
| THE END |


Recent Comments