How to Reinstall Windows 8 with Small Images
What’s Required for this guide: Windows 8 DVD or installation key. A computer.
To start this Windows 8 reinstall, insert the DVD/install key and boot/reboot your computer, it should automatically begin to run. If not then make sure the drive is set to first boot in the BIOS
Once your booting continue with this guide.
WARNING: ALL DATA WILL BE LOST

If booting of A USB key, you will skip this screen, if DVD then this is the next screen you will see, press “Any Key” to continue.

The disk will start booting….

First language and keyboard selection, Change as required and click “Next” to continue.
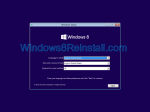
All Versions but Enterprise: Now enter your product key which is located in your retail box or on a sticker on your computer or an envelope.
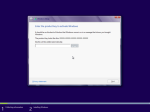
All Versions but Enterprise: Enter your key and click “Next”
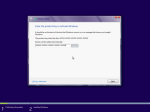
From the next screen click on “Install”
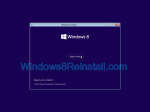
Setup will start
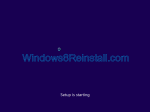
Now the Licence terms.
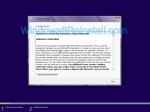
Read… If you agree click on “I accept the licence terms”, click “Next” to continue.
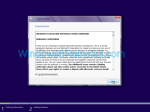
Now click “Custom Install Windows only”
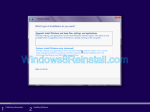
Now your drive management, You have two drives (Which is common in Windows 7 and 8), the first drive (Drive 0 Partition 1: System Reserved (which is 350 mb in size) is used my Windows, the 2nd (Primary) in our example is where you want Windows to go. Now you have to decide if you are going to do a fresh reinstall (Delete contents of hard drive and old operating system) or a dirty reinstall (Save contents of hard drive and old operating system)….
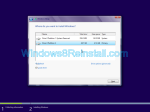
NOTE: Which ever option you choose, follow the path below. To view images, click on them to enlarge
Windows will start copying files
and install features and updates…
| Windows 8 Requirements Click here | Recovery Environment? Click here | Windows 8 Guides Click here | ||||
Your system will now reboot..

Ignore this…

Windows will ready devices…

It will now “Get Ready”
Then reboot again

Ignore this again

Windows will start loading…

Time to Personalize…
Enter a name for the computer…. Click “Next to continue”
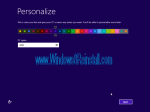
Settings time, click “Use express settings” to move quickly through, otherwise click “Customize” to continue
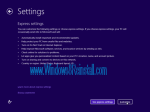
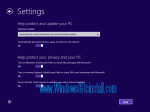
Select your settings for updates and privacy, click “Next” to continue
Select your settings for sending Microsoft info…. Click “Next” to continue…
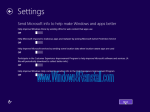
Check online for solutions option and app info sharing settings… Click “Next” to continue…
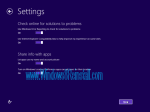
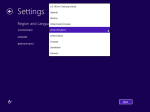
Now select your country, language and keyboard input, click “Next” to continue
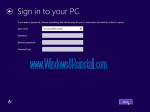
Finally enter your “User name” (and a password and password hint if you require them), click “Finish” to continue…
Then reboot again

Finally Ignore this again

Windows will start loading…

Ready itself….
Install more stuff
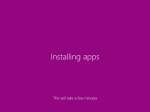
and finally to the start menu
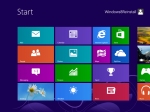
The End


Recent Comments