Repair a Windows NT Workstation Install step by step using the install disks and the CD.
Welcome to Microsoft’s Windows NT Repair step by step using the Windows NT Setup disks. This will give you an idea on how to do this when and if the time arises for you to Repair the operating system due to corruption or some other unforeseen problem.
Well for this I will show you the repair for Microsoft Windows NT 4.0. Now follow the following steps.
1) Insert your Windows NT 4.0 CD and Disk 1 of your 3 NT Workstation setup disks
3) Once this is done boot up system.
The following screen now appear and Windows NT will detect your hardware configuration.![]()
Soon you will see the following . Insert NT setup disk 2 and hit enter.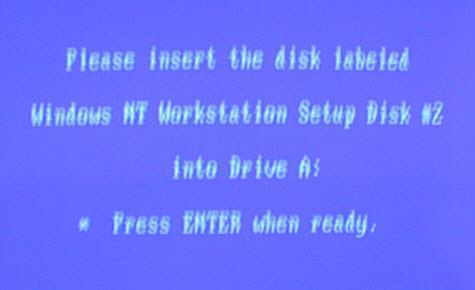
Now the following menu will appear, press “R” to start repair.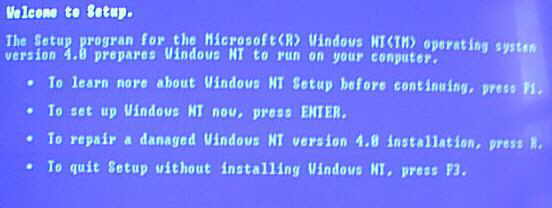
You will now be given a list of tasks, leave all as default and press “ENTER” to continue.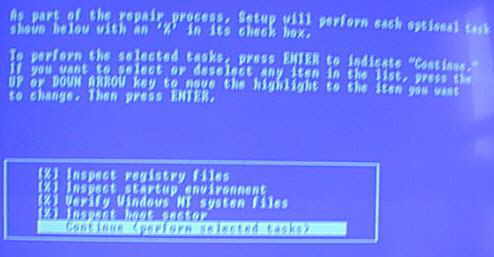
You will be now prompted to search for mass storage devices (CD-Rom in most cases), press enter to continue or “S” if you have a SCSI device.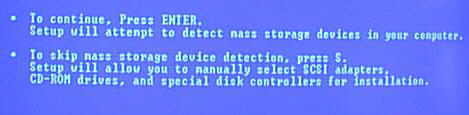
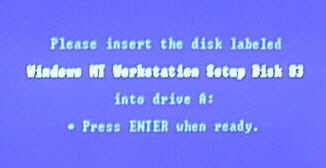
Now insert disk 3 of your Win NT Workstation setup.
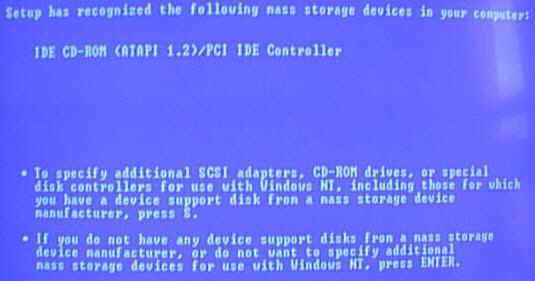
Windows has found a CD-Rom. Press enter to continue. If you have SCSI devices you will have to hit “S” to specify.
The Following screen will now appear asking for your ERD (emergency Repair Disk) if you have made an ERD then insert it now and press “ENTER”, otherwise press esc to use the WinNT CD to perform the repair.

You will now be asked what you want to repair, on most occasions there will only be one choice, but if you have 2 NT installs, then you will have to select the one you wish to repair. Press “ENTER” to continue.

Now setup wants you to select what registry files you wish to restore.
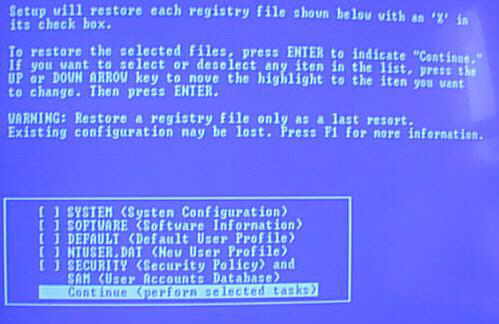
You can select one or do what I do select them all.
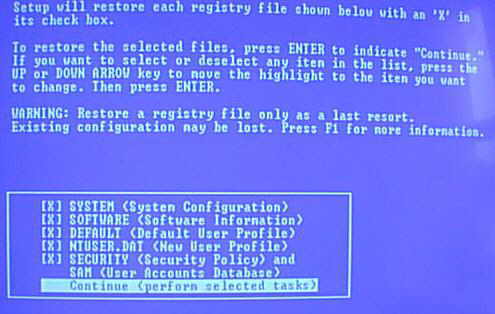
Setup will now perform the tasks.

At last all is done, press “ENTER” to reboot. Remember to remove your CD and Floppies.
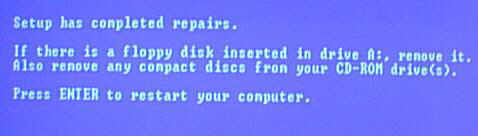
THE END…….
Recent Comments