Windows NT Workstation Install step by step using the WinNT CD only.
Welcome to Microsoft’s Windows NT Install step by step using the Windows NT Setup disks. This will give you an idea on how to do this when and if the time arises for you to either reinstall the operating system, install for the first time or upgrade your present operating system.
Well for this I will show you the install for Microsoft Windows NT 4.0. Now follow the following steps.
1) Insert your Windows NT 4.0 CD.
2) Set the first boot device to CD-Rom in your Bios, save and exit
3) Let system boot up.
The following screen now appear and Windows NT will detect your hardware configuration.![]()
Now the following menu will appear, press “ENTER” to start repair.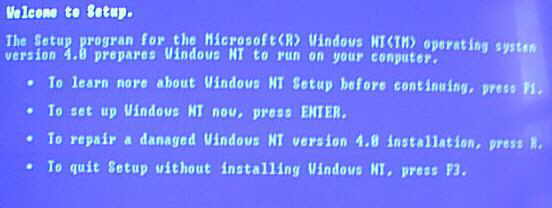
You will be now prompted to search for mass storage devices (CD-Rom in most cases), press enter to continue or “S” if you have a SCSI device.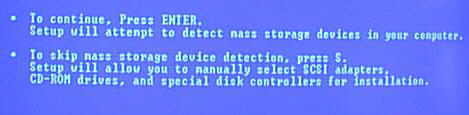
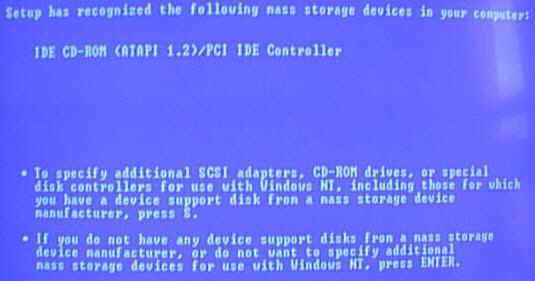
Windows has found a CD-Rom. Press enter to continue. If you have SCSI devices you will have to hit “S” to specify.
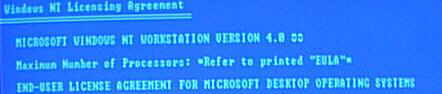
Now the NT License agreement, Click on page down until you get to the bottom
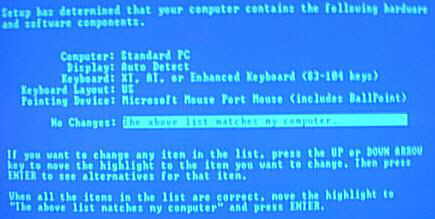
The standard setting that NT now picks should be ok, make changes if needed else hit “ENTER” to continue
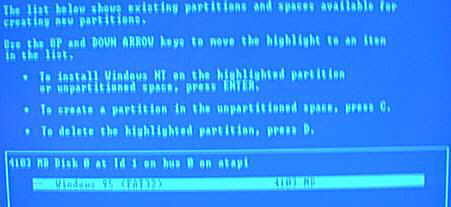
Win NT has now detected your hard drive. This, if it has been setup before will have to be deleted if you are looking to install a Fresh operating system. Press “D” to delete the partition that is highlighted.
****MAKE SURE YOU HAVE BACKED UP BEFORE DELETING ANYTHING****
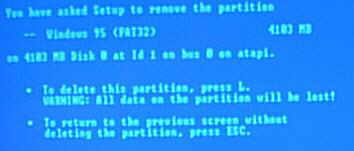
You are now given your last chance to not delete a partition. To continue Press “ENTER”
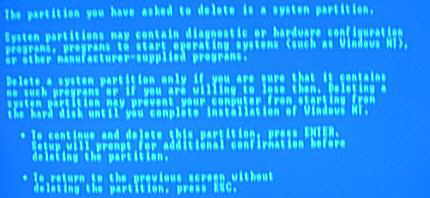
Actually this is your last chance, Press “L” and the contents of that drive/partition are gone.
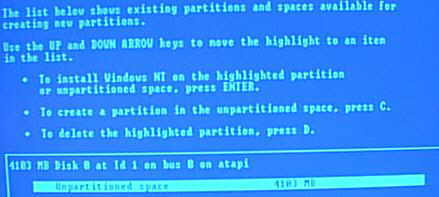
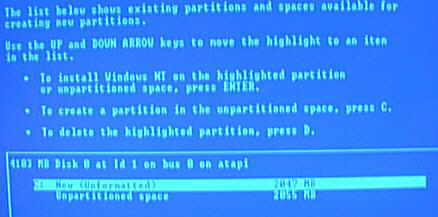
Now the partition menu appears, Press C to create a partition..
You will now be asked size of Hard drive, default is Max space on your hard drive.
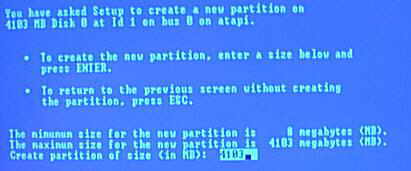
As we are going to use FAT16 you will set up the drive to any size below 2048mb. Click enter when happy with size.
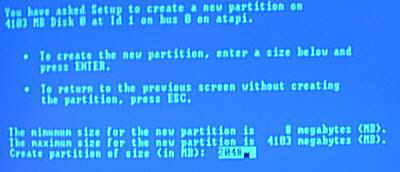
The partition is setup. We recommend that you leave any remaining space until later, when in windows, otherwise you can setup the remaining space by following the steps we just did for the main drive.
You will now be asked how you wish the drive to be formated, we recommend FAT for most users, for more security use NTFS.

Setup will now format your Hard drive partition

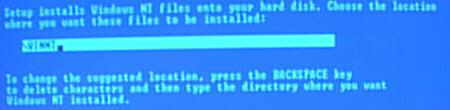
You will now be asked where you wish NT to be installed, unless doing a parallel install leave the default and hit “ENTER”
The next page will now appear, we advise that you let setup run the tests, hit “ENTER” to continue.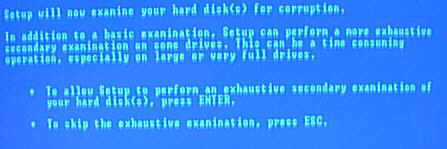
Be patient while it examines

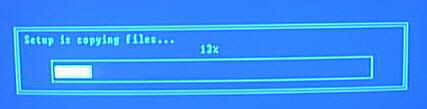
Setup will then copy files
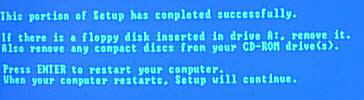
You will now remove any floppy disks or CD’s in the drives and hit “ENTER” to reboot your system
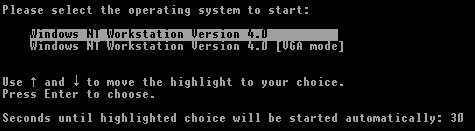
Hit enter to continue from the startup menu.
You will now be prompted for the NT CD again, please insert and when drive is ready click “OK”

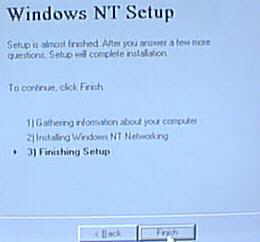
Now Click on finish to continue
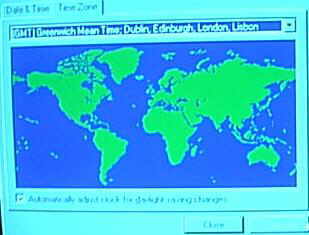
Now select your timezone, click apply and close when finished.
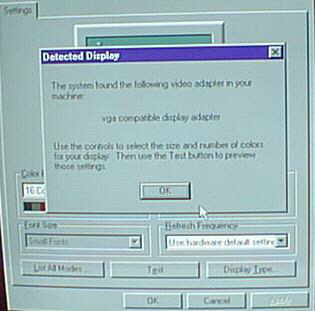
and now your display adapter, don’t install until you get into windows, so click on “OK” and then “OK” again.
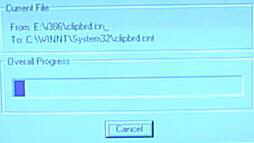
NT will then continue to copy files.
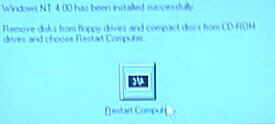
and finally completed, click on “RESTART COMPUTER” to continue, remove any CD and floppy disks first.
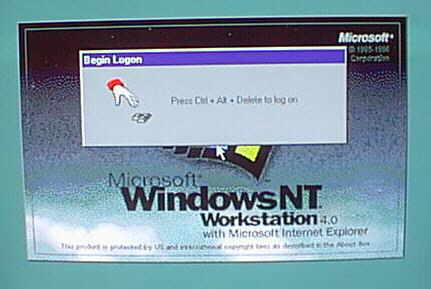
After rebooting you will arrive at the login screen, press “CTRL” and “ALT” and “DELETE” to enter password section
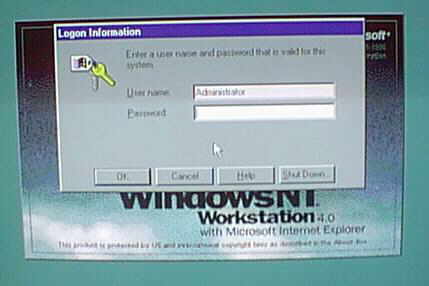
Now enter your password and press “ENTER”, if you didn’t set one just press “ENTER”
At last the desktop…. NT INSTALLED
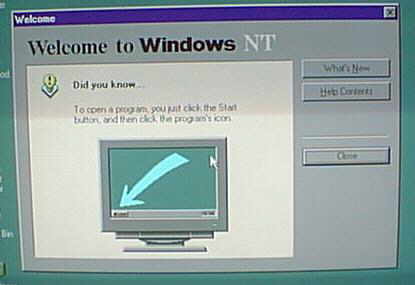
The End… You can now start configuring and installing drivers for personal use in the control panel
Recent Comments